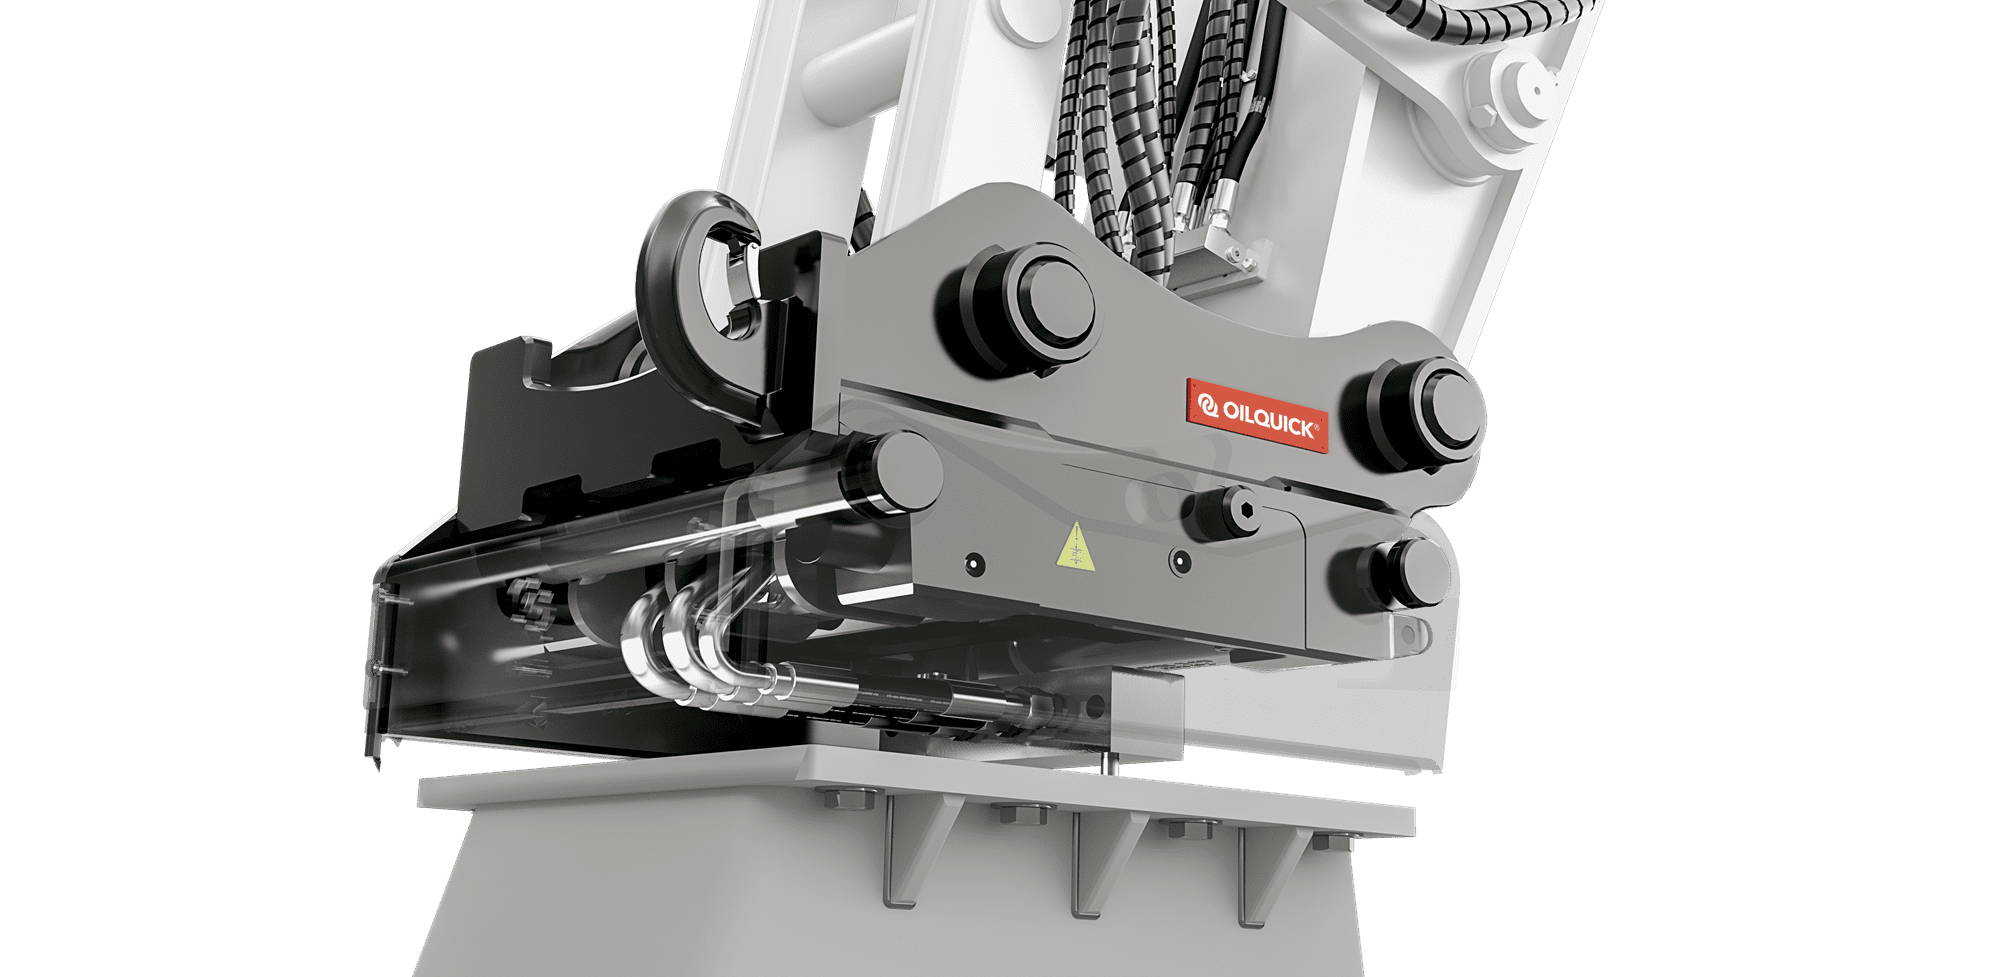
Exploring Hydraulic Circuits on Excavators for Attachment Operations
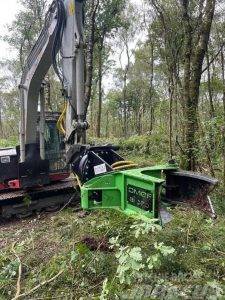
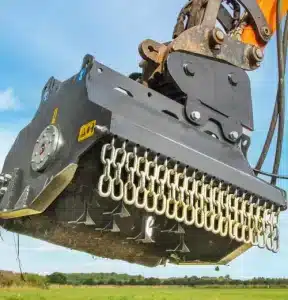
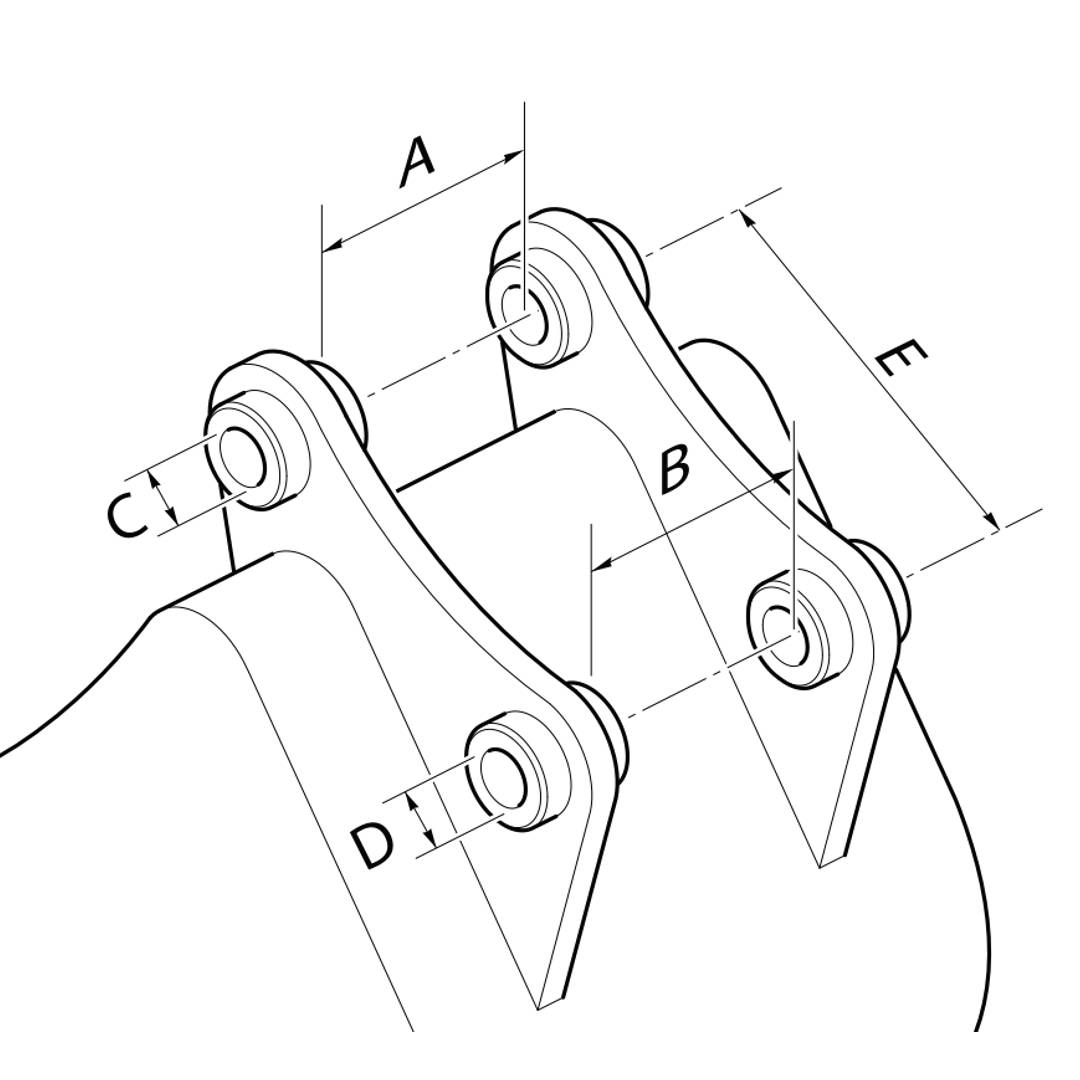
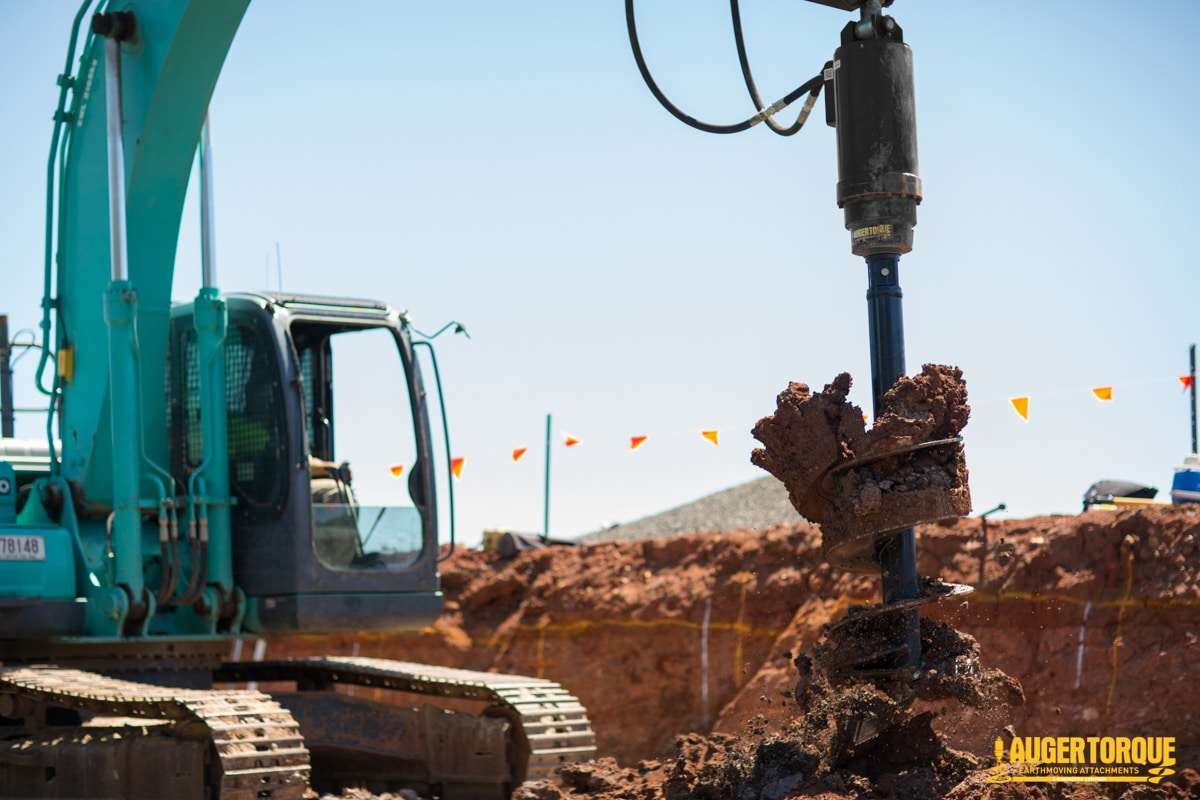
Excavators are indispensable heavy machinery in construction, mining, and various other industries. They owe their incredible versatility in large part to their hydraulic systems, which power a multitude of attachments for diverse tasks. Hydraulic circuits on excavators are designed to provide precise control, flow, and pressure to these attachments. In this comprehensive article, we will delve into the various types of hydraulic circuits used to run attachments on excavators, including the primary circuits and auxiliary circuits. While skid steers are very similar, this article is going to focus specifically on excavator setups. Primary Hydraulic Circuits Firstly, let’s quickly cover the primary hydraulic circuits that are on every excavator – large and small. Every moving function of the excavator like the bucket curl, boom angle, slewing left and right, all require hydraulic power. In this article, we will refer to these as the primary hydraulic circuits. Every machine no matter how old or new will have a hydraulic circuit enabling each of the functions listed below. Bucket Circuit The bucket circuit is the one of the main primary hydraulic circuits on the machine. It controls the movement of the bucket itself. It consists of a pump, control valve, hydraulic cylinder, and associated hoses. The flow and pressure in this circuit are carefully regulated to ensure smooth digging and material handling as well as optimizing breakout force. Boom Circuit The boom circuit controls the upward and downward movement of the boom, allowing the operator to reach different heights and depths. This circuit is essential for excavation and lifting tasks. It usually consists of 2 hydraulic cylinders (depending on the size of the machine), hoses, and a control valve that regulates flow and pressure. Dipper Arm Circuit The dipper arm circuit controls the extension and retraction of the arm/stick, providing precise control over the digging depth. It typically consists of a hydraulic cylinder, hoses, and a control valve. This cylinder is usually located on top of the boom of the machine. Slewing/Swing Circuit: The slewing circuit is responsible for rotating the upper structure of the excavator. It allows the operator to position the excavator accurately. This circuit comprises a hydraulic motor, slewing ring, hoses, and a control valve. This allows endless 360 degree rotation of the excavator. Auxiliary Hydraulic Circuits In addition to the primary circuits, excavators can be equipped with auxiliary hydraulic circuits that enable them to power various attachments. These auxiliary circuits offer versatility and expand the excavator’s capabilities. Just by looking at the machine you can see how many auxiliary circuits it has equipped by looking on the side of the dipper arm/stick. Every circuit is of course going to have 2 hoses, so each set of 2 hoses is one hydraulic circuit. Here are the primary types of auxiliary hydraulic circuits: Single-Acting Circuit: A single-acting circuit provides hydraulic flow in 1 direction only. This is ideal to operate attachments that require hydraulic force in one direction only, such as hydraulic breakers and post drivers. This circuit can often be referred to as a “breaker circuit”. Not many newer machines are fitted with a single acting hydraulic circuit, but older backhoes can be equipped with a single acting circuit only. Double-Acting Circuit: Double-acting circuits are more versatile and can be used with attachments that require hydraulic flow in both directions, such as hydraulic thumbs, grapples, and augers. Think of any attachment that requires 2 movements like open/close, rotate clockwise/anti clockwise – as always needing 2 way flow. Every primary circuit on the machine that we touched on early has double acting flow – to open and close the hydraulic cylinders or slew the machine clockwise or counterclockwise. Note: most double acting circuits can be manually set into single acting mode via a valve block on the machine. This is to use attachments like breakers safely in single acting mode. Coupler Circuit: Coupler circuits are a hydraulic circuit that can be added to machines to operate quick couplers. Couplers let the operator drop off and pick up different attachments without having to leave the machine. Most couplers operate using a hydraulic cylinder to open and close the coupler. They then have a locking mechanism to ensure the attachment can’t fall off in a dangerous position. Coupler circuits are plumbed slightly differently as they often tap into another circuit of the machine to use its hydraulic flow & pressure. This means that they can be easily added to the machine if it is not equipped from the factory. Most couplers will come with a hydraulic kit to be installed on the machine to operate the coupler. When looking at a machine the coupler circuit usually has smaller hoses as it doesn’t require the same level of oil flow as other circuits. They are also usually located on top of the stick shown below: One of the most common mistakes we come across is customers who mistake their auxiliary circuit for a coupler circuit. Because their machine has hydraulics on the stick, they think they can just use that for their coupler. As mentioned above, coupler circuits are plumbed differently, also for safety reasons. They require a solenoid block and control box in the cab in order to only open when the bucket is in the closed position so that the bucket or attachment doesn’t fall off. You can find installation instructions for the Geith Hydraulic Coupler on our website here. Adding An Auxiliary Circuit Adding an auxiliary circuit to an excavator is a lot more complex than adding a coupler circuit. An auxiliary circuit requires a spare OEM valve on the machine’s pump(s) for the hydraulic pressure & flow but also an added method of operating in the cab, like a foot pedal or new joystick/roller. There are companies that supply and install auxiliary hydraulic circuits on excavators, if you are looking to add one to your machine. However, this will be expensive and we would only recommend doing so if it is going to get a lot of use on